如何将Outgoing Webhook部署到中国版Azure
在这篇文章中,我们主要来如何将Azure DevOps中的项目作为应用发布到中国版Azure的App Service中。
什么是Azure DevOps
Azure DevOps, 原名为VSTS, 全称是Visual Studio Team System,是由微软开发的一套具有高生产力、高集成性、可扩展的生命周期开发工具,免费,无限个数的私有repo,GitHub的public repo是无限的,但是私有repo要收费
Azure App Service
- Azure App Service的优点
- 让开发人员更容易在Azure上构建可扩展的Web和移动应用程序后端
- 让开发人员更容易在Azure上组合服务
- 让开发人员更容易将Azure应用程序与记录系统整合起来
- 降低了运行应用程序后端的成本
部署步骤
- 1、在Azure DevOps中新建Repo, 本地Clone,Push代码
- 2、在Azure DevOps中并编译生成一个 .NET Core应用, 配置持续集成环境
- 3、将Azure添加到Azure DevOps的Service Endpoint(仅限中国区的Azure)
- 4、在Azure中创建App Service
- 5、配置Azure DevOps中构建的应用Release到Azure App Service
必备条件:
1、Azure订阅
2、Azure DevOps环境
3、Git
4、Visual Studio 2017 or Visual Studio Code
一、在VSTS中新建Repo, 本地Clone,Push代码
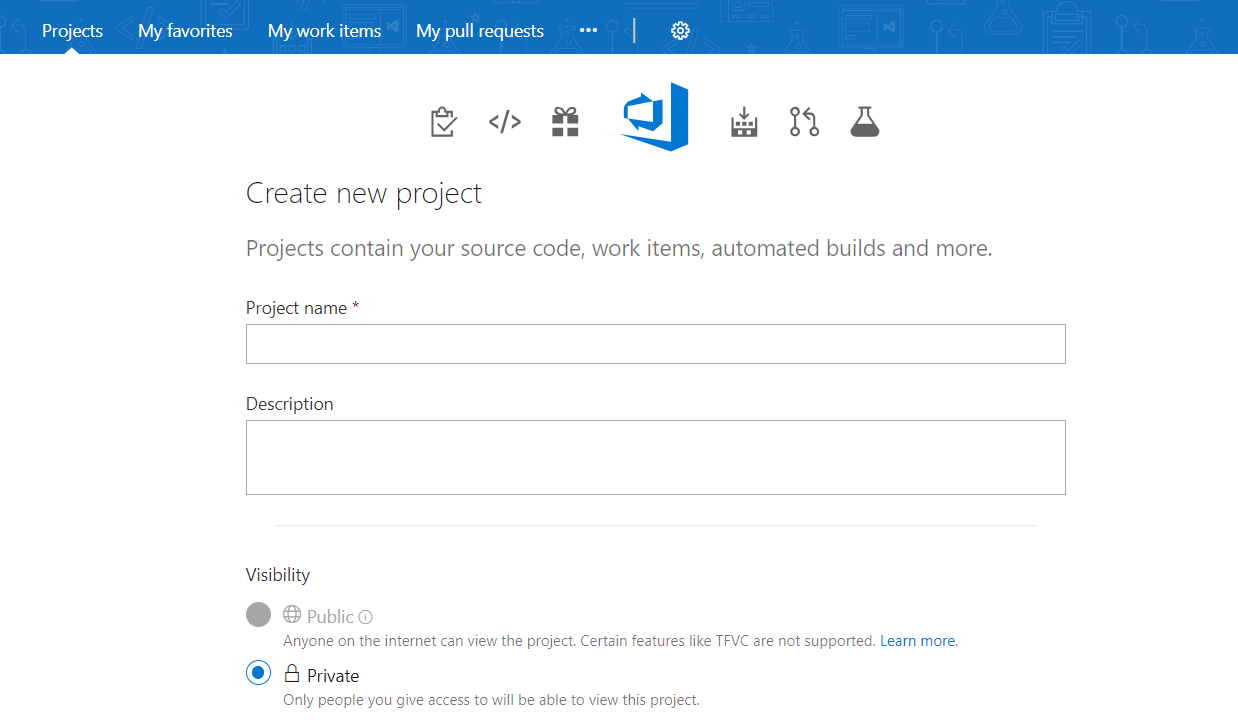
1、在VSTS中新建git代码仓库
创建完成,得到git的orgin地址
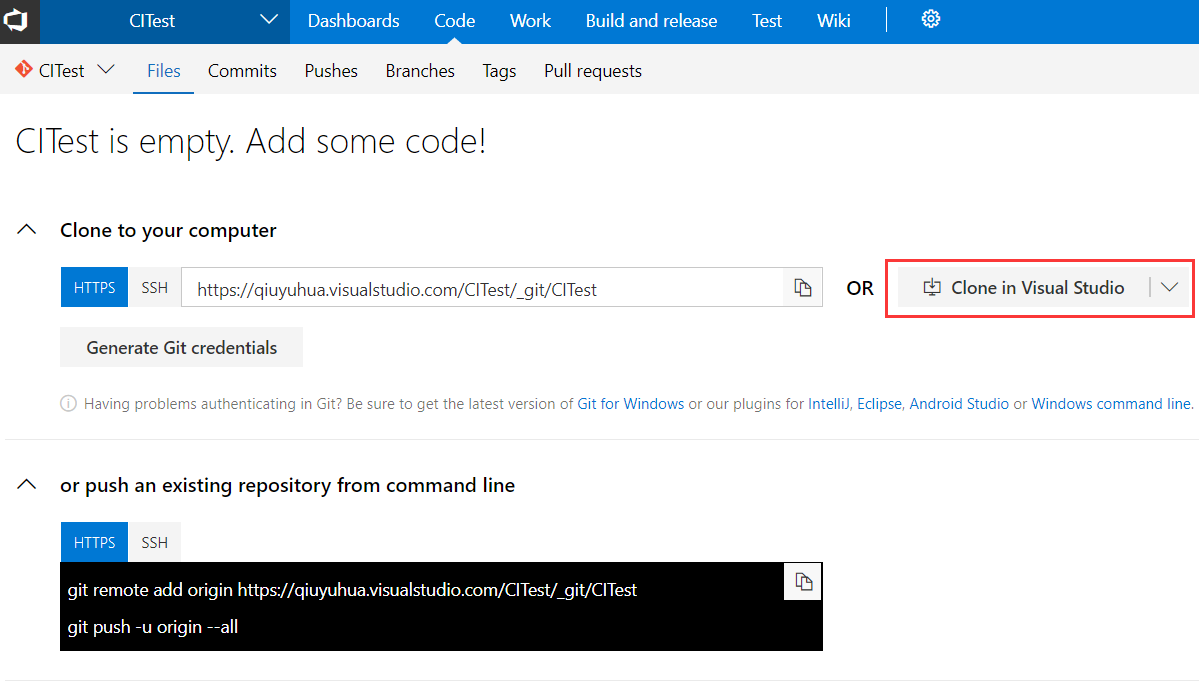
在本地新建文件夹,git获取代码路径
c:\Microsoft Teams> mkdir CITest
c:\Microsoft Teams> git clone https://qiuyuhua.visualstudio.com/CITest/_git/CITest
安装dotnet的模板
c:\Microsoft Teams> dotnet new -i MicrosoftTeams.Templates
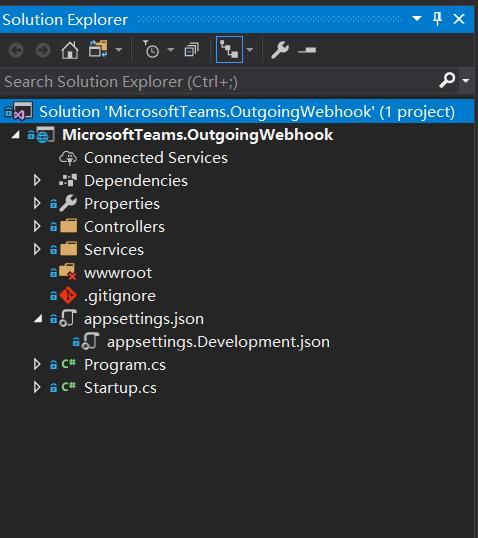
2、根据git的项目地址,上传我们的项目文件代码
二、在Azure DevOps中并编译生成一个 .NET Core应用, 配置持续集成环境
1、在Azure DevOps中,导航到“Code”下的的 “文件” 选项卡,然后单击“设置生成”

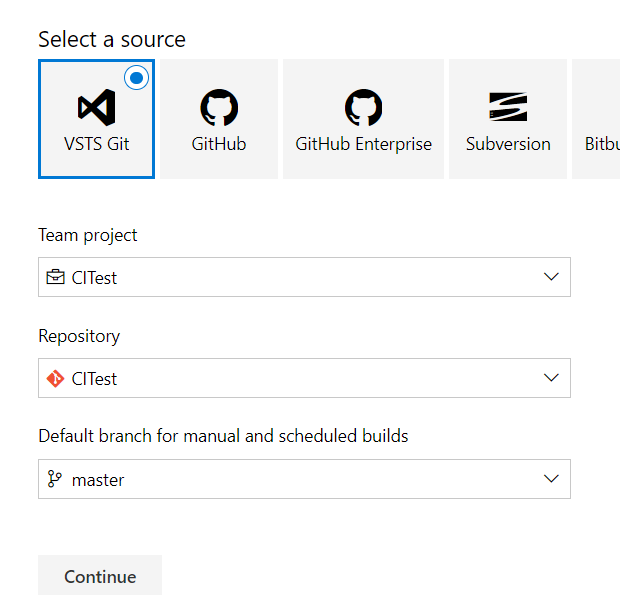
2、选择代码源, 这里选中 VSTS Git, 点击Continue
3、选择Build的模板, 搜索框中输入 Core,点击选中 ASP.NET Core, 然后点击Apply

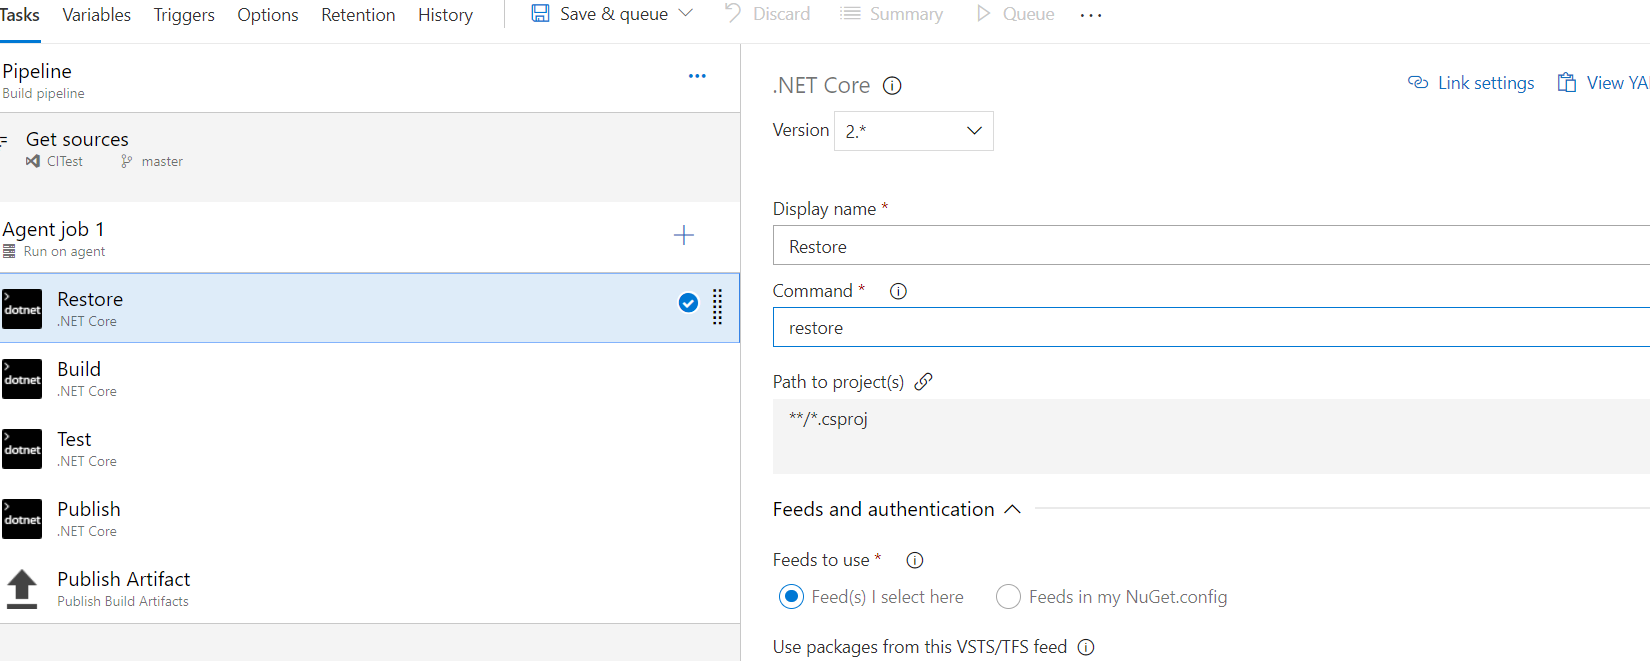
现在,可以看到所有由模板自动添加到构建管道中的任务。这些是每当我们推代码更改时自动运行的Build任务, 这里我们进行Build的相关配置

4、配置代理队列:
Azure DevOps: 设置Build的名称,选择Hosted VS2017. 这就是如何使用我们的代理池来构建应用程序所需的软件。
依次对Restore、Build、Test、Publish,进行响应的配置
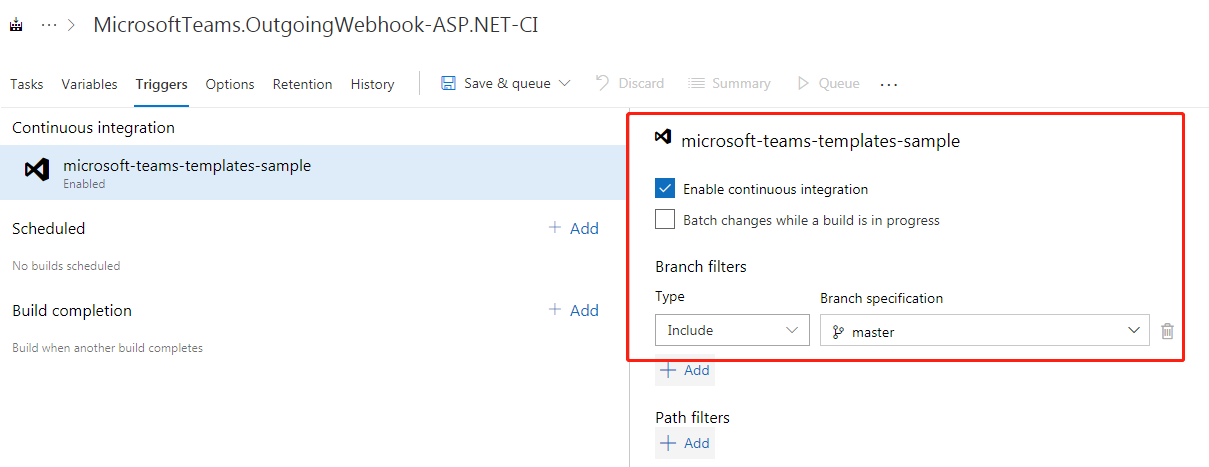
5、点击Triggers Tab页在生成管道中.勾选 Enable the Continuous Integration trigger.
这将确保每次提交到存储库的更改时自动触发生成过程
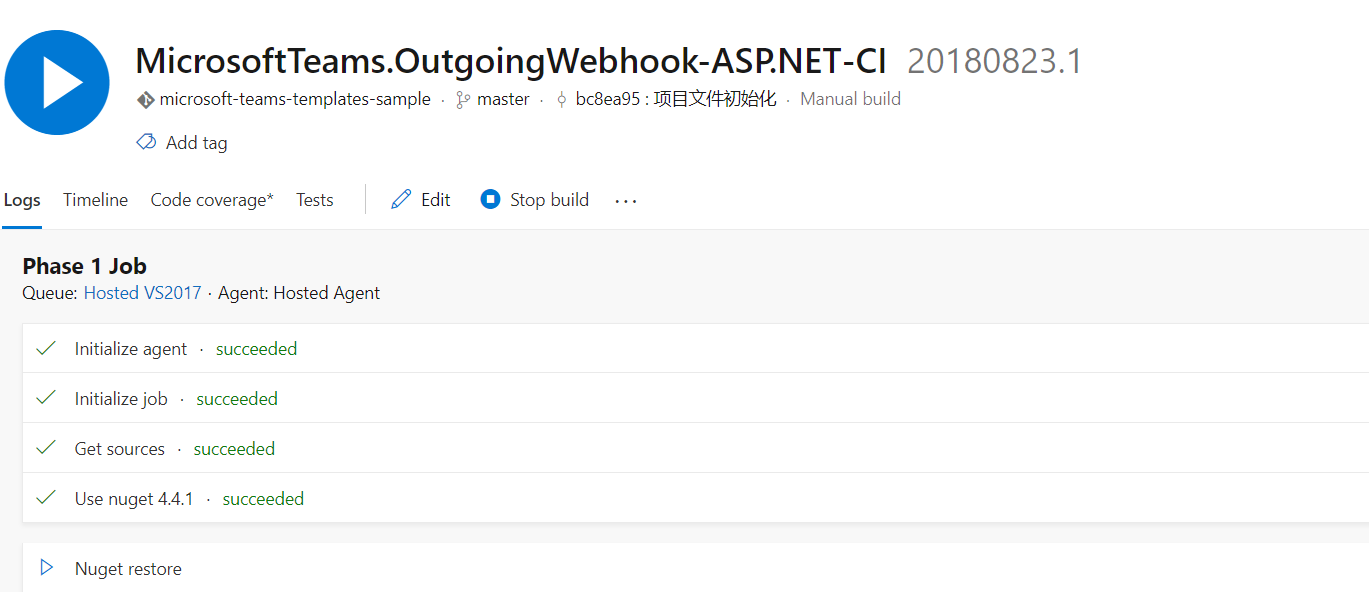
6、点击 Save & queue 开始进行一个build
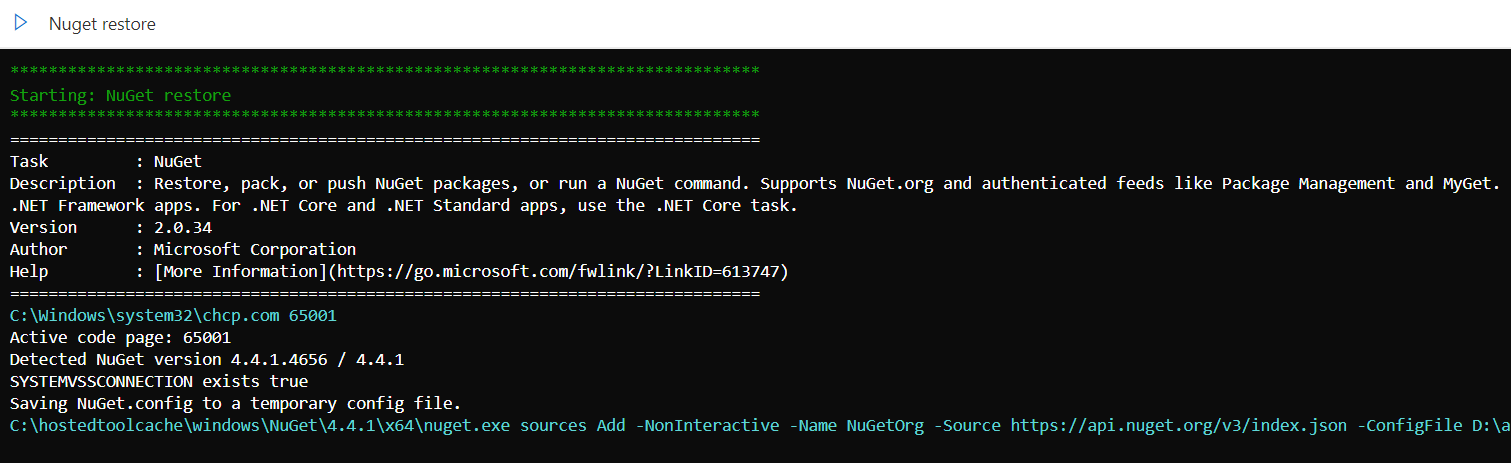
我们在页面上,可以看到刚刚配置的Build已经启动,并且在进行相关环境的初始化
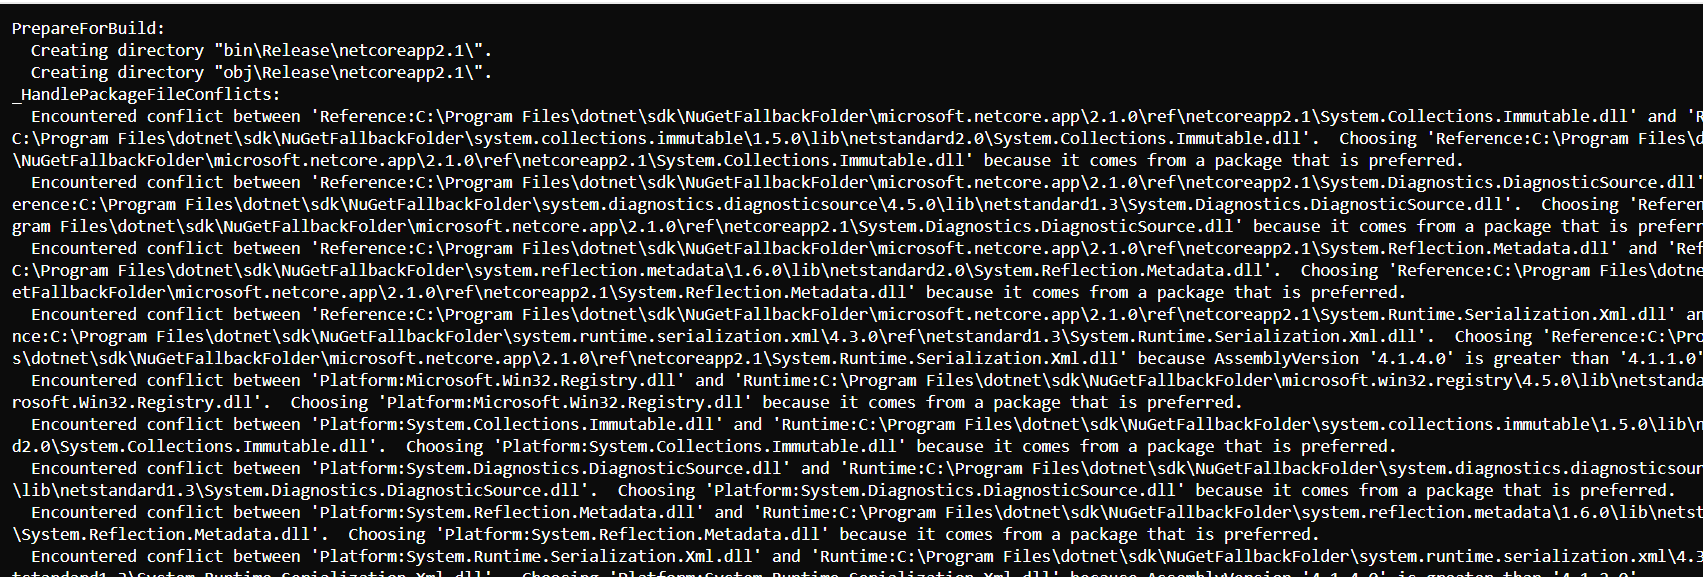
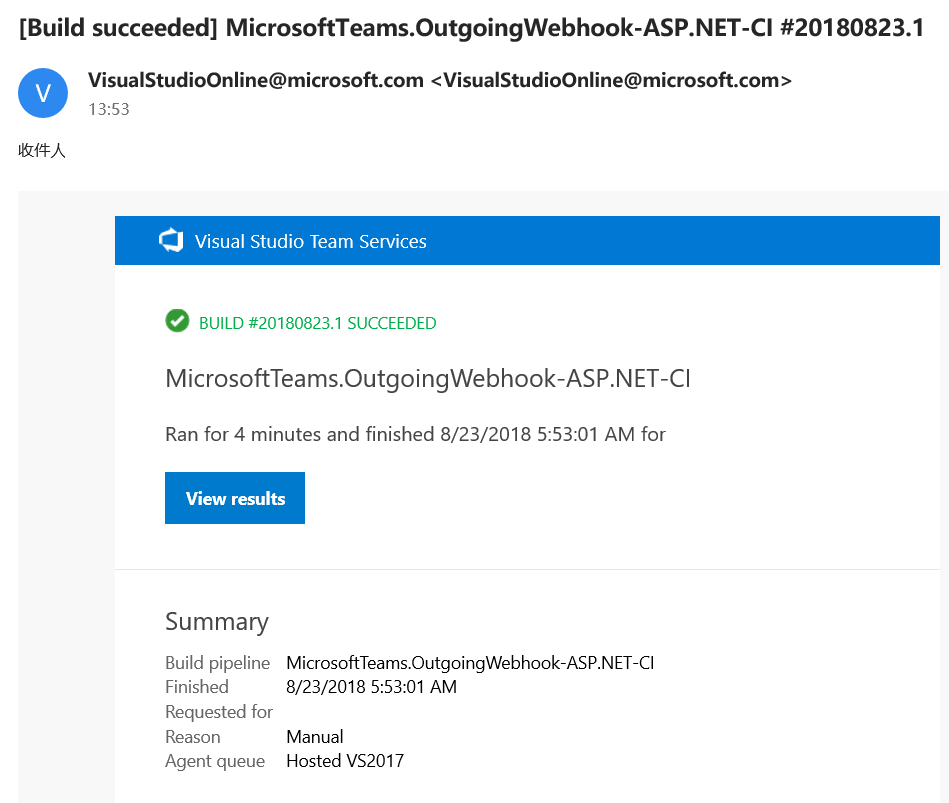
整个Build构建完成时,我们会收到一封通知邮件
7、 Save & queue 开始进行一个build
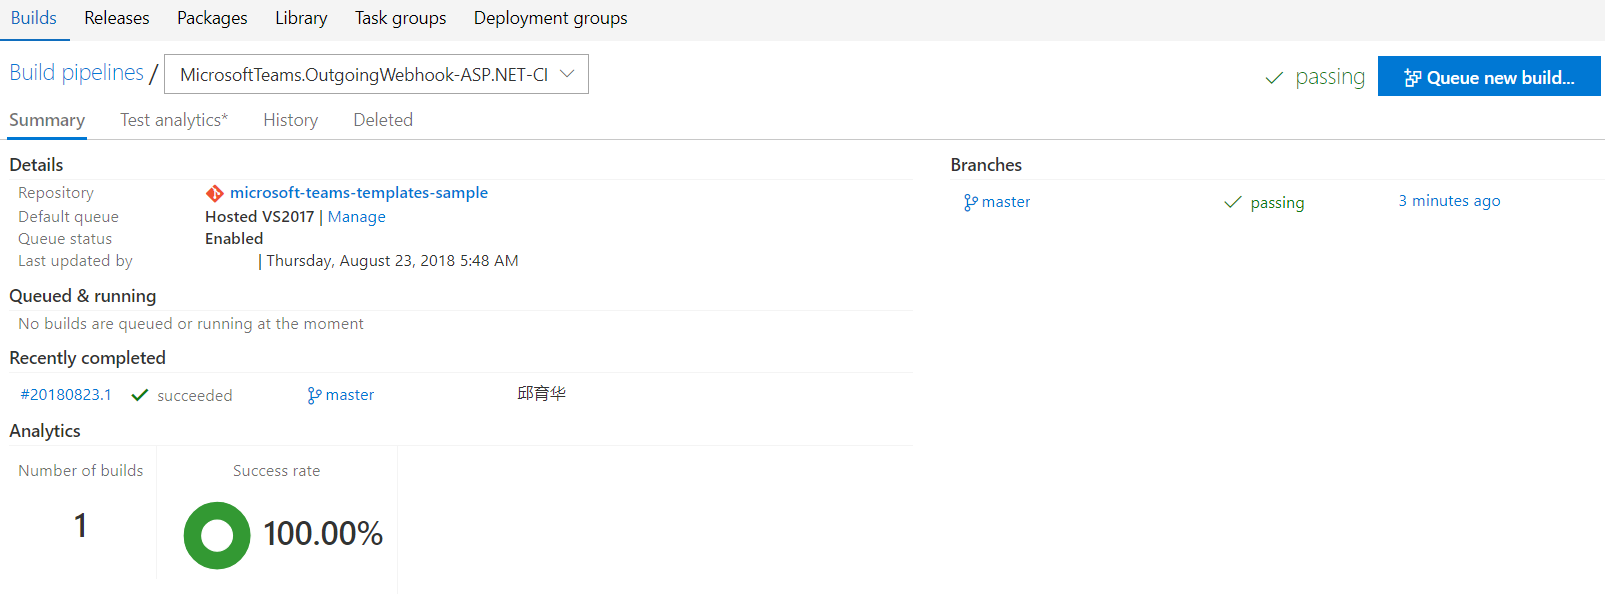
查看Build的总体情况
生成完成,选择生成号以查看生成的简要信息
下载Artifact,查看刚刚Build完成,Publish后的文件
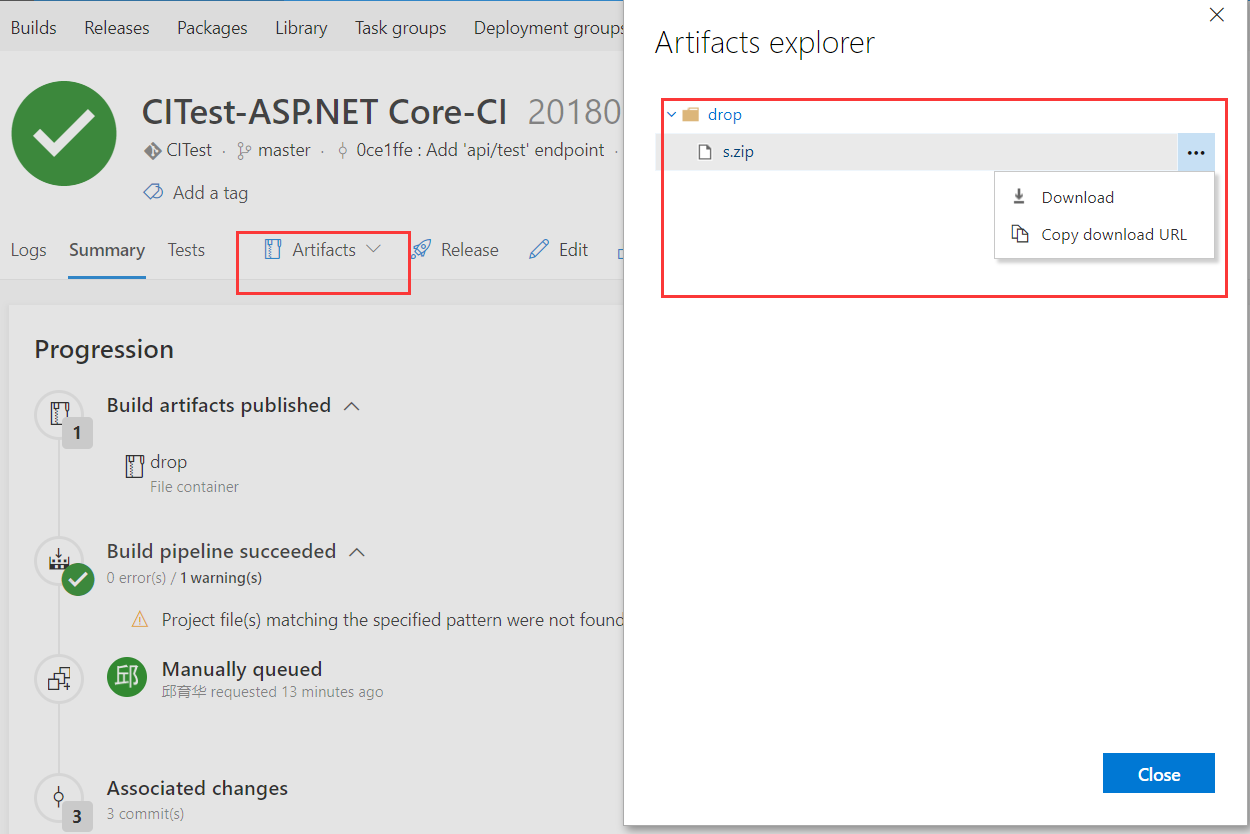
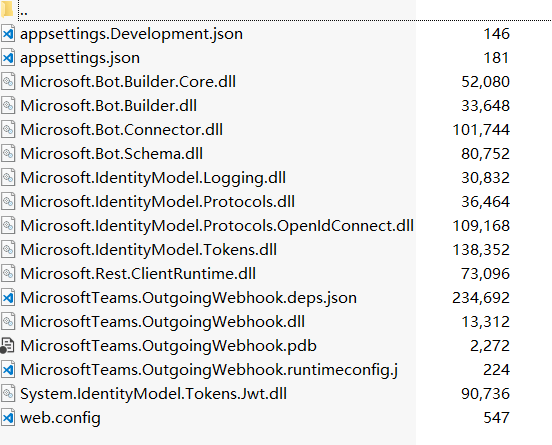
可以看到和我们在本地进行Publish操作,生成的文件是一样的,以上就是在Azure DevOps中构建Build的一个完整过程。
三、将Azure添加到Azure DevOps的Service Endpoint
1、把中国区的Azure添加到 Azure DevOps的 Service Endpoint
这个是使用 Azure DevOps 自动部署到中国区Azure的前置条件。Service Endpoint是以项目为单位进行配置的
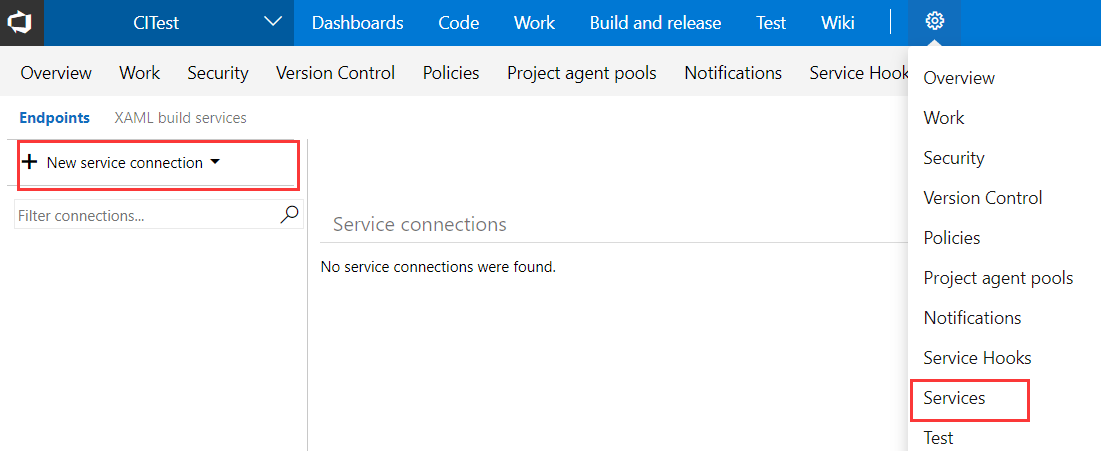
点击 设置 按钮 -> 选择 Service -> 点击左侧 New service connection -> 选中点击 Azure Resource Manager -> 弹出框点击最最下方的 “use the full version of the service connection dialog”
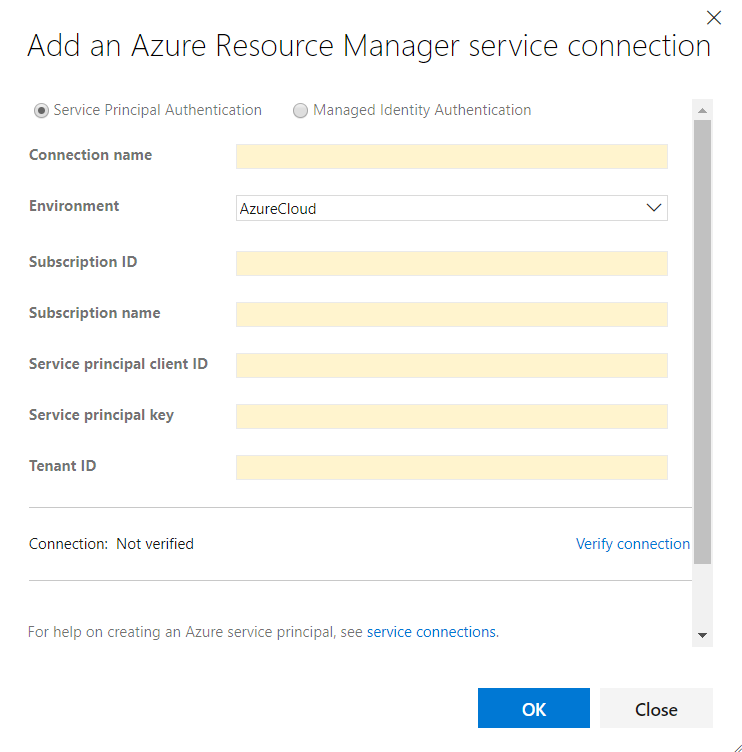
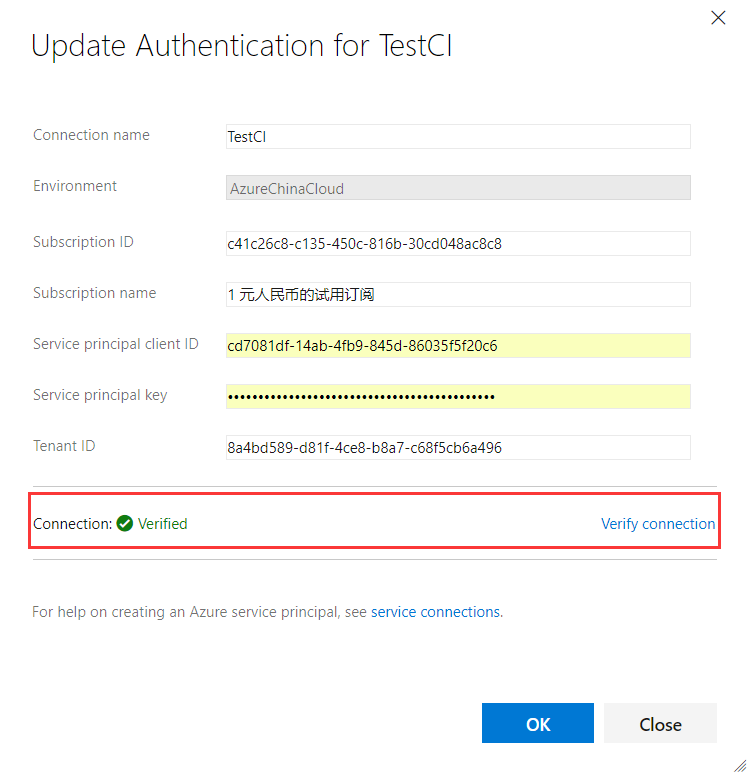
这里关键的几个信息填写:
- Connection name (可以自由填写)
- Enviroment (选择: AzureChinaColud)
- Subscription ID (Azure的订阅ID)
- Subscription name (Azure的订阅名称)
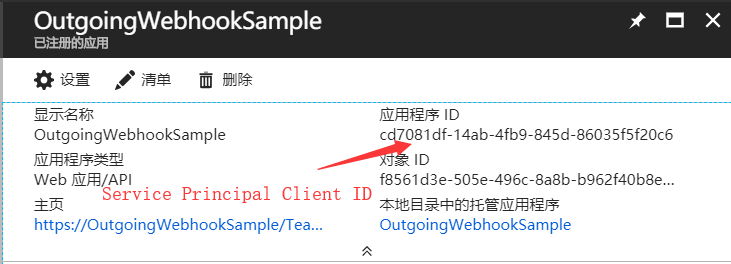
- Service principal client ID (重点: 下文会说到)
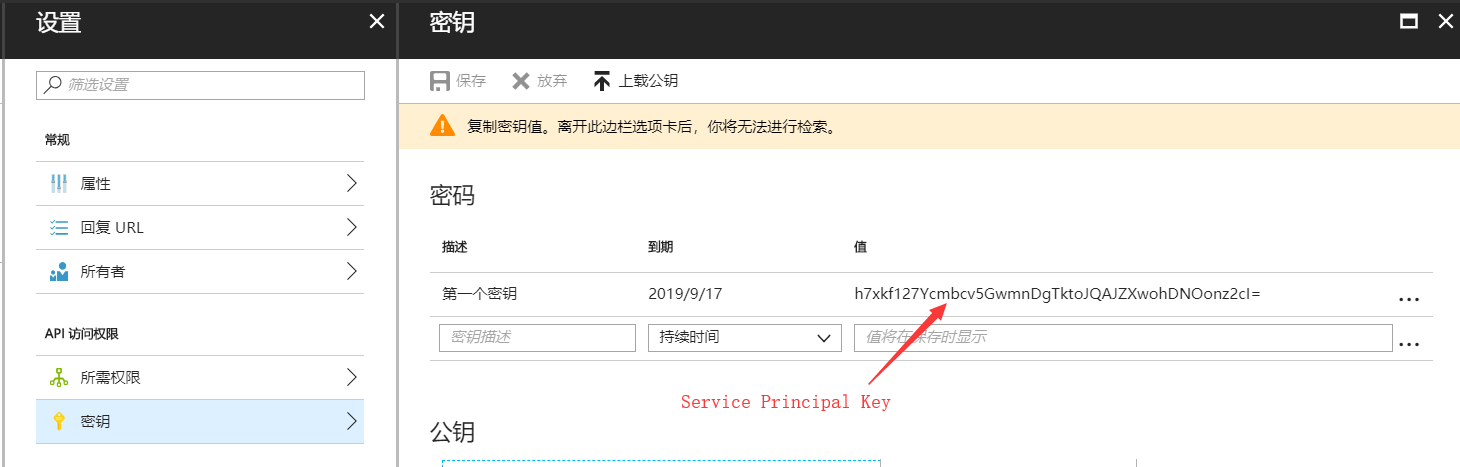
- Service principal key (重点: 下文会说到)
- Tenant ID (Azure Active Directory -> 属性 -> 目录Id)
2、配置Service principal client ID和Service principal key
打开http://portal.azure.cn -> 选择左侧 Azure Active Directory -> 到 用户设置 -> 确保应用注册状态时可用状态

然后点击 应用注册 -> 新应用程序注册
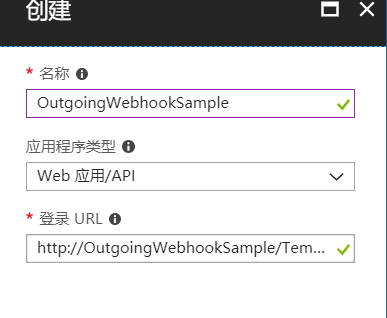
然后打开 属性 -> 修改应用程序的ID URI 规则

接着,打开密钥 -> 添加密钥
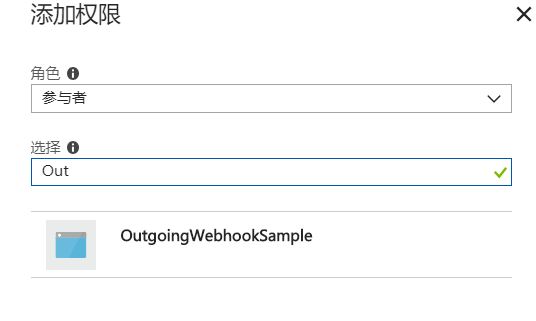
点击左侧菜单 成本管理+计费 -> 订阅 -> 选择对应的订阅。然后点击 访问控制(标识和访问管理)添加权限,给咱们刚刚创建的应用程序添加 参与者 权限
这里回到上文中,Azure Resource Manager的配置,填写上文设置的Service principal client ID和Service principal key
配置完成后,点击 Verify connection, 验证配置是否成功
四、在Azure中创建App Service
1、选择左侧导航栏 应用程序服务, 点击```添加`` 新建 应用程序服务
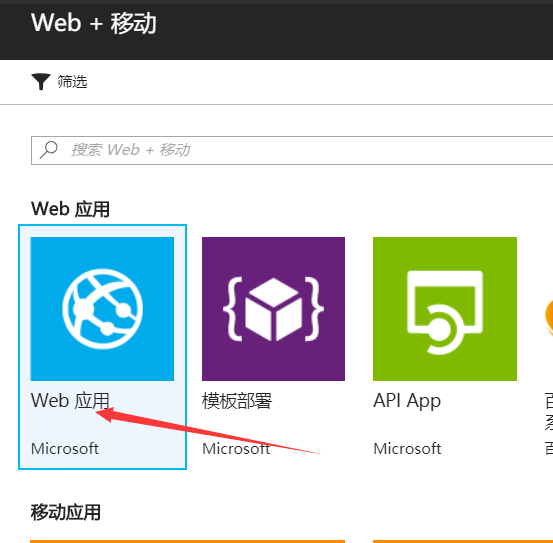
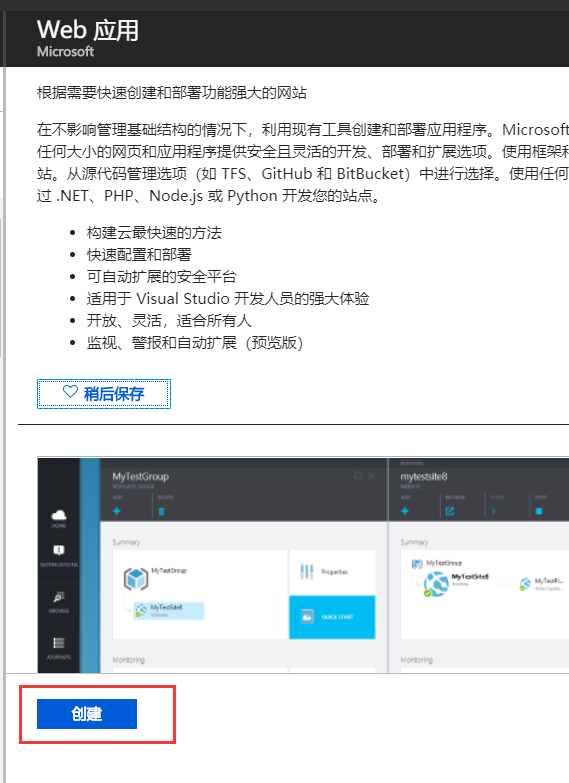
2、选择 Web应用, 点击 创建
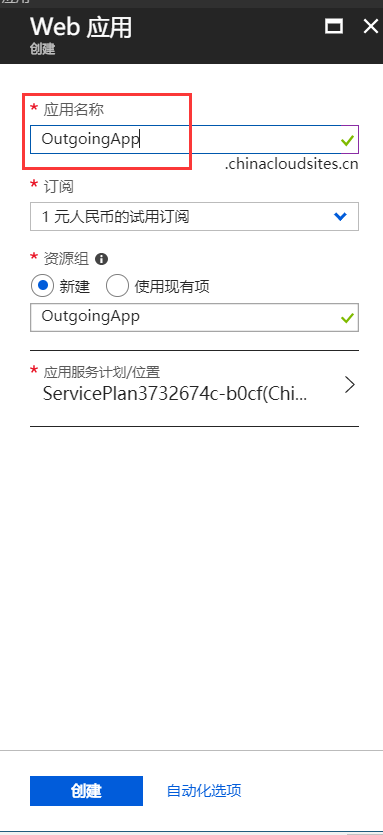
3、输入应用程序名称,完成创建
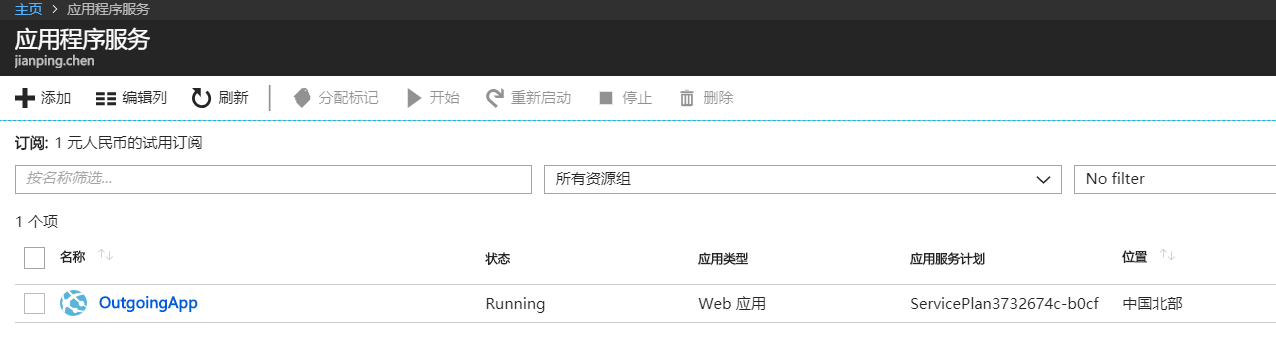
4、回到应用程序列表,看到刚刚新建的App Service,已经初始化成功,并且处于Running的状态
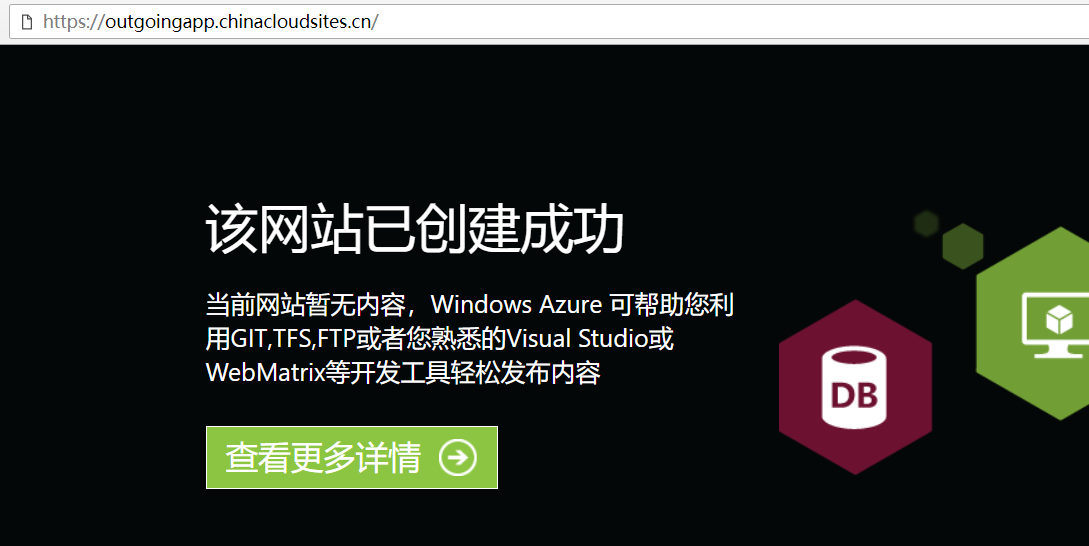
5、打开访问地址,出现下图,说明应用是创建成功的
五、配置Azure DevOps中构建的应用Release到Azure App Service
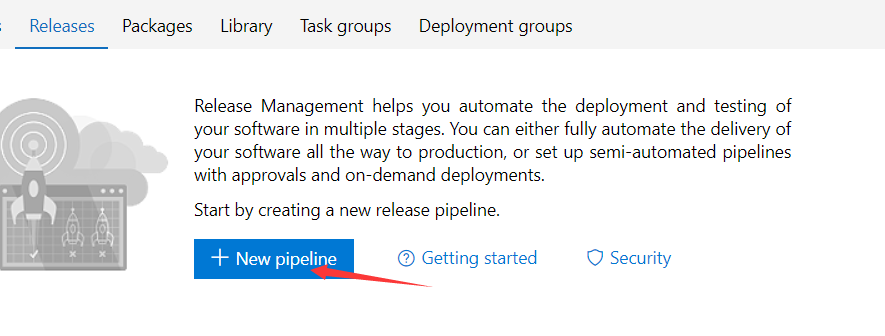
首先,导航到Release页面,新建一个Release Pipeline
选择Release的模板,这里选择Azure App Service deployment, 点击Apply

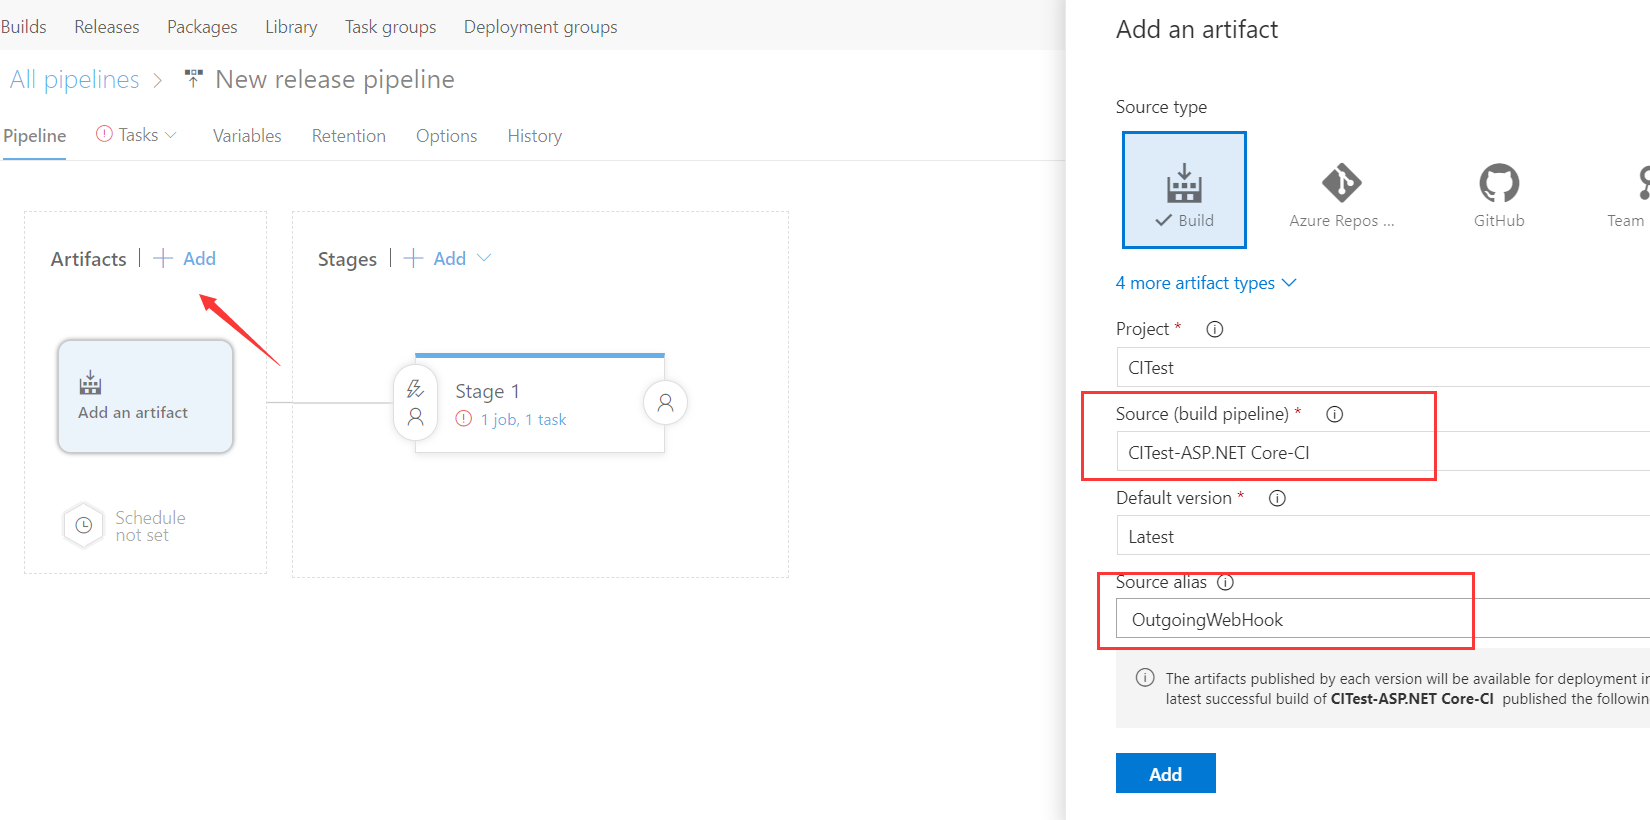
添加Artifact, 选中之前定义的Build名称,可以进行别名命名
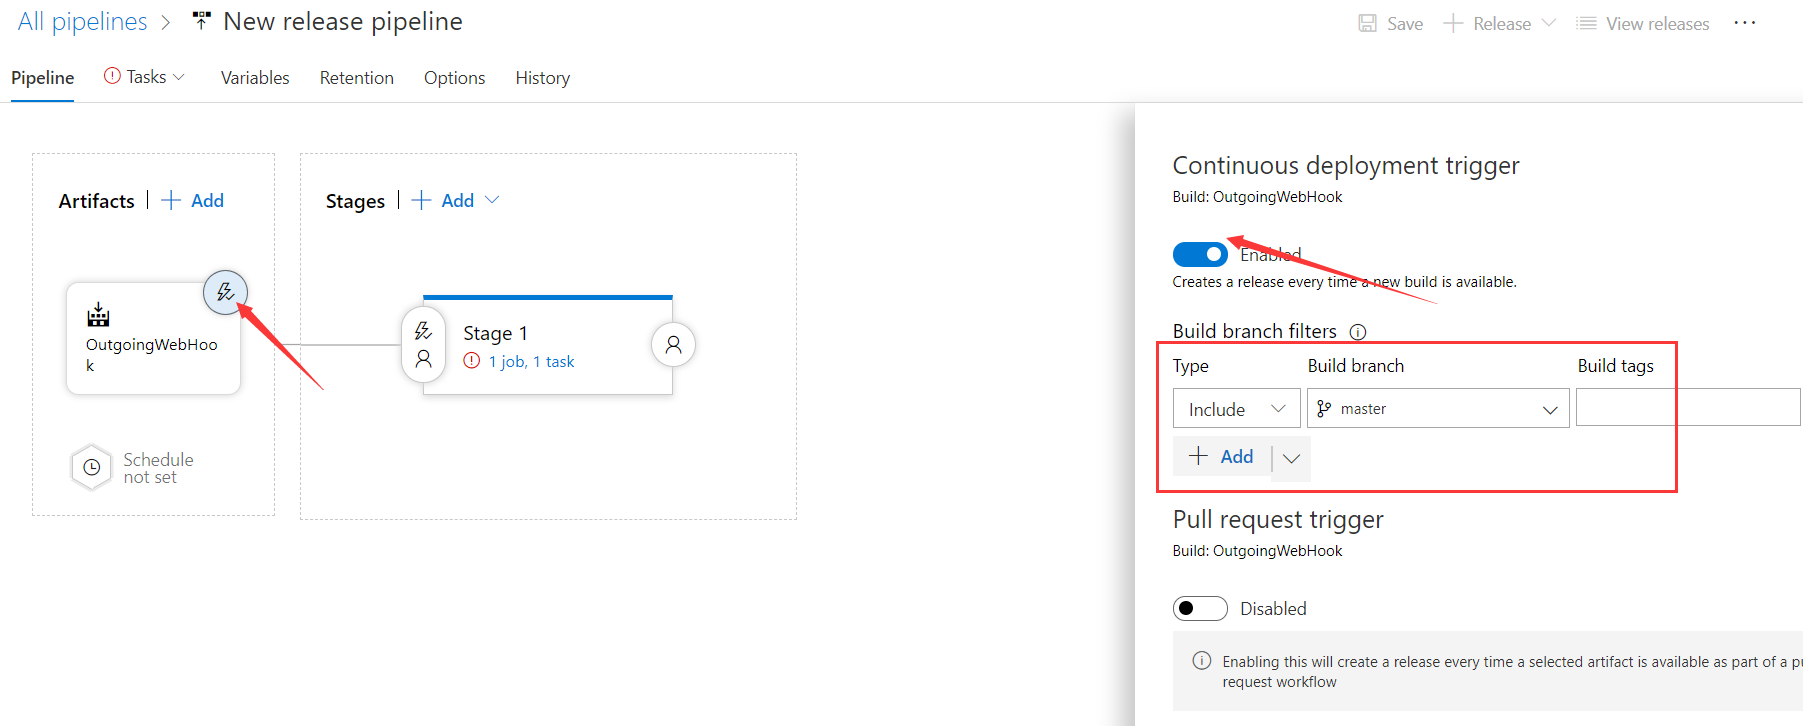
配置deployment trigger, 目的是当关联的Build生成成功后,会自动发布到我们的App Service上
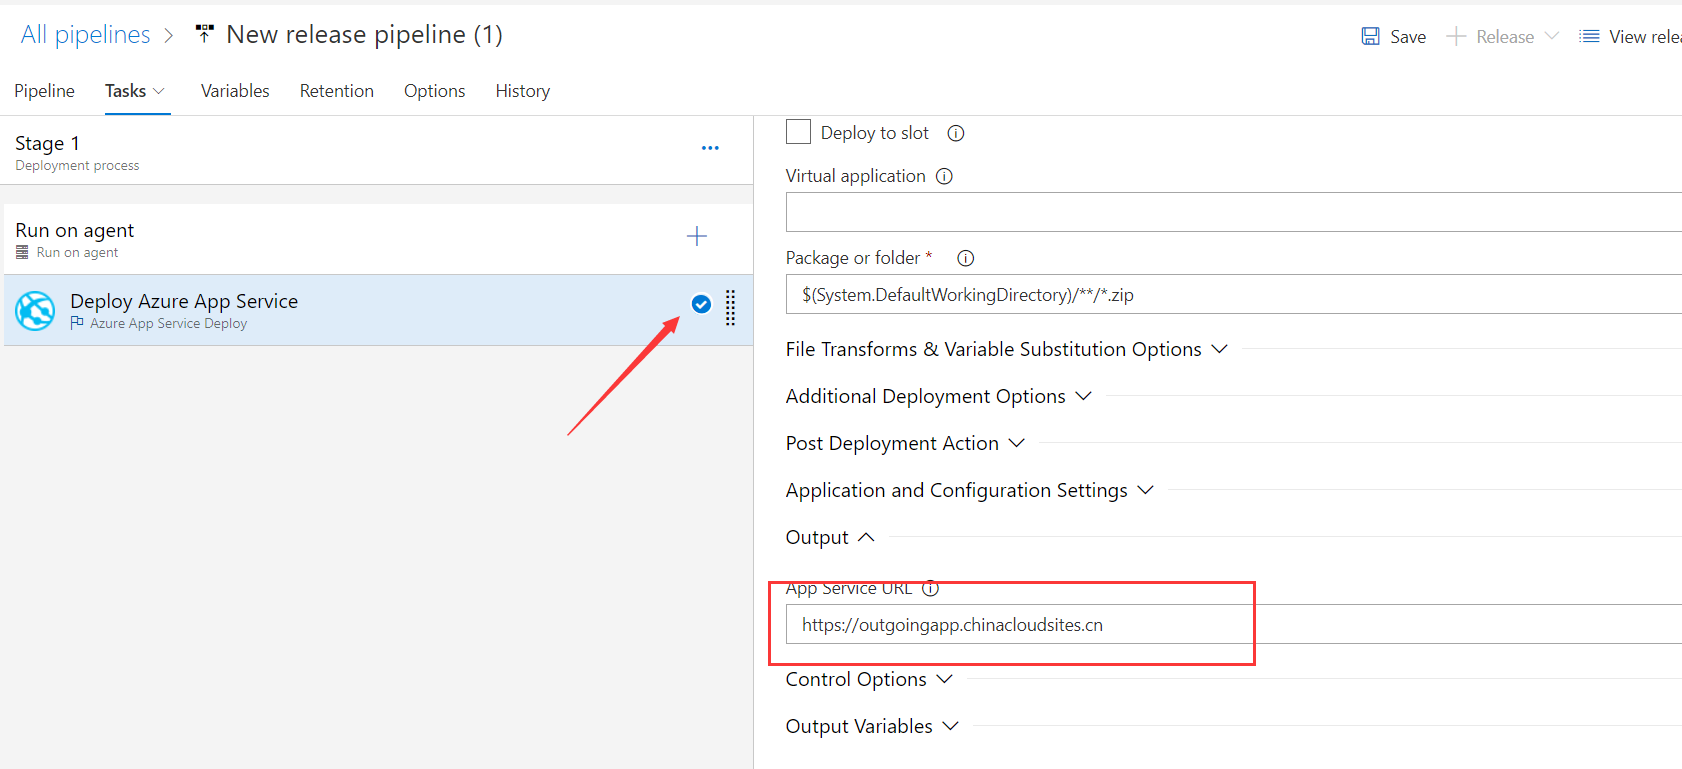
配置Deploy Azure App Service, 找到App Service Url, 填入新建的Azure服务名称
当我们的Build被触发时,且成功执行完成后,可以看到配置好的Release已经启动

直到Release完成, 此时已经将应用发布到了Azure

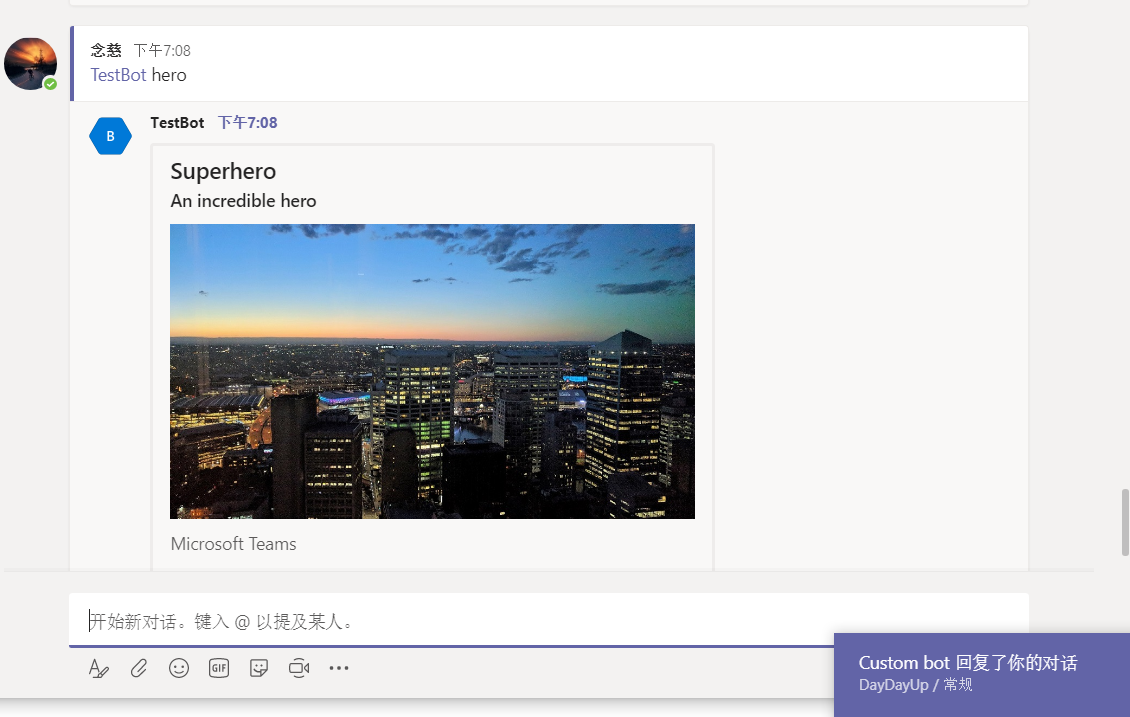
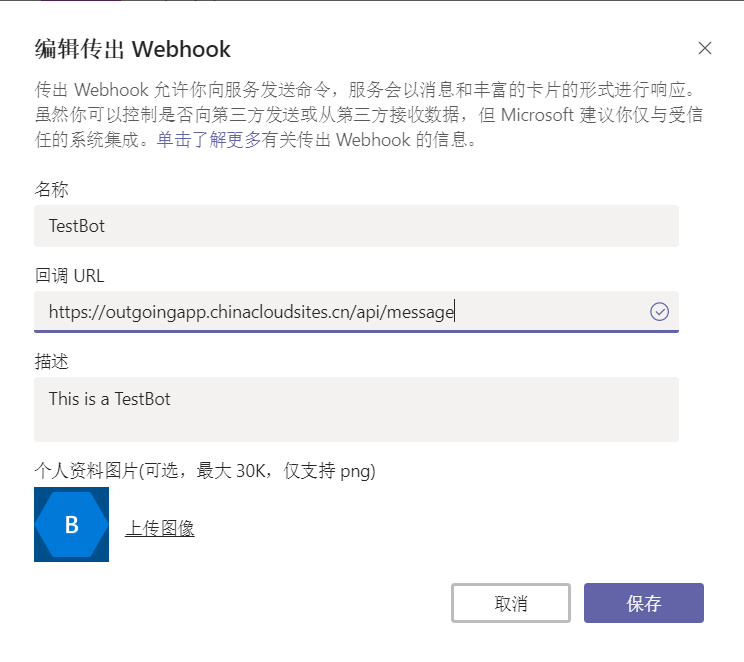
回到Miecrosoft Teams中,将Outgoing Webhook的地址修改为Azure App Service的地址
修改完成后,我们@机器人,看看消息的响应